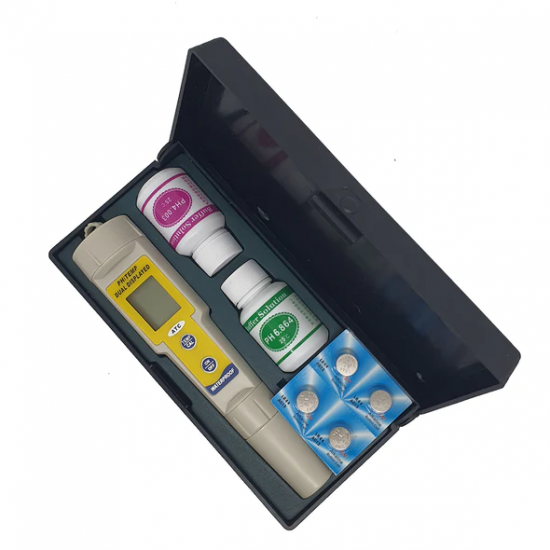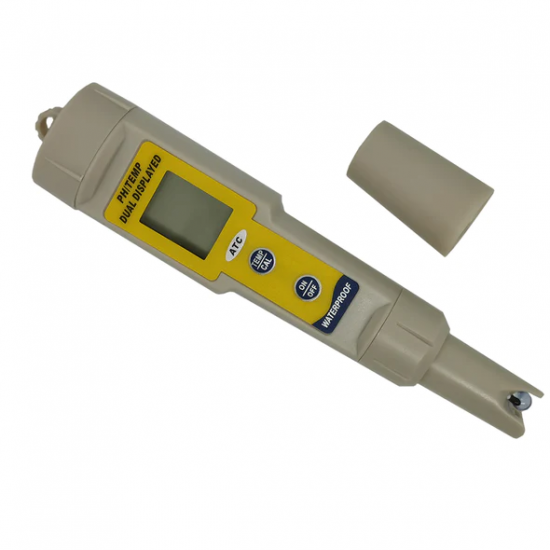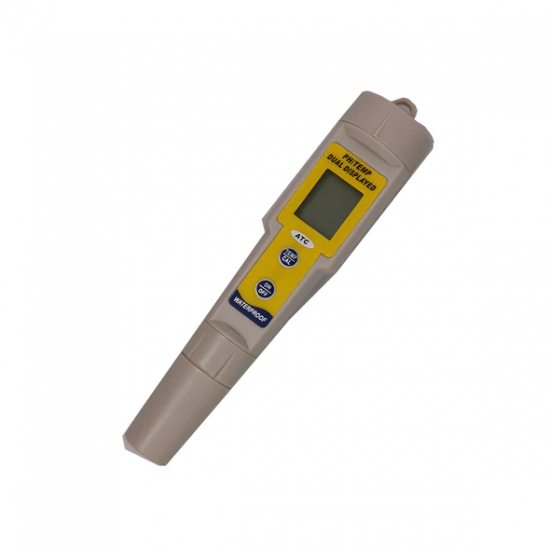


pH/Temperature Meter - Handheld Digital Waterproof (Dual Display) ZP
RM230.00
Ex Tax: RM230.00
- Stock: In Stock
- Model: pH/Temperature Meter - Handheld Digital Waterproof ZP
- °C/°F automatic temperature conversion
- Dual display of mV value and temperature value
- Pen type ORP meter, with small size, high precision, stable and reliable work. It can measure and display the ORP value and temperature value of the solution at the same time.
- Easy to operate. It is the choice of field and laboratory testing and control of ORP values. Widely used in chemical, pharmaceutical, electronics, food and other industries ORP value monitoring.
Range:
- pH: 0.00 ~ 14.00pH
- Temperature: 0 °C ~ 50°C (32°F to 122 °F)
Resolution:
- pH: 0.01pH
- Temperature: 0.1 °C
Accuracy:
- pH: ±-0.01pH
- Temperature: ±0.1°C
Automatic Temperature Compensation: 0°C ~ 50°C
Batteries: 4 x 1.5V (AG-13) (Included)
Operating Temperature: 0°C ~ 50°C
Calibration: 2 points with auto buffer recognition
Dimensions: 188mm x 35mm x 35mm
Weight: 98g
Operation:
- Remove the protective cap
- First rinse the electrode with distilled water, and dry it with filter paper.
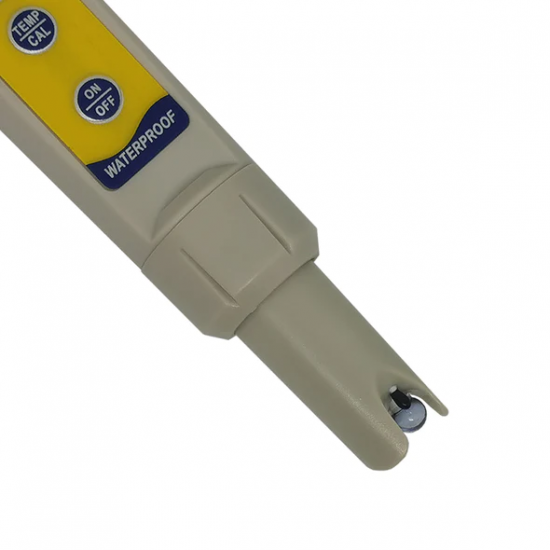
- Turn the meter on by pressing the 'ON/OFF' key.
- Immerse the pH meter electrode in the solution to be tested.
- Stir gently and wait for the reading to stabilise. Do not tap it against the glass.
- After usage, rinse the electrode with water to minimise contamination. Turn the meter off by pressing the "ON/OFF" key.
- Always replace the protective cap after use.
Switching Temperature Modes
The default temperature reading for the meter is in Celsius. To change the temperature mode, quickly press the "TEMP/CAL" button to switch from Celsius to Fahrenheit or from Fahrenheit to Celsius.
PH Calibration
- Pour a small quantity of pH6.86, pH4.00, pH9.18 solution into clean beakers.
- For a particularly accurate calibration, it is advised to use two beakers for each buffer solution; the first is to be used for rinsing the electrode, the second is to be used for the calibration. In this way, the risk of contaminating the buffer solution are reduced to a minimum.
- Switch on the instrument.
- Immerse the electrode in a pH6.86 buffer solution, and gently shake it until the reading stabilise.
- Press and hold the "TEMP/CAL" button about 5 seconds. The meter will automatically adjust to a reading within a range of the solution the meter is in. Until the display shows "6.86."Rise the electrode with distilled water.
- Immerse the electrode in a pH4.00 buffer solution, and gently shake it until the reading stabilises.
- Repeat Step 5.
- Immerse the electrode in a pH9.18 buffer solution. Wait for the reading to stabilise and display the reading of exactly 9.18.
- The Calibration of the instrument's pH range is now complete.
IMPORTANT:
The instrument's pH range be be re-calibrated whenever:
- The electrode has been sued 9laid for a long time since the last calibration.
- The electrode has been used in a particularly taxing conditions.
- The utmost accuracy is required.
- To reset the calibration, press and hold the 'TEMP/CAL' button.
Battery Installation:
If the meter can not be switched on or the display fades, please replace the batteries. Pay attention to the polarity of battery.
Electrode Replacement:
- Remove the protective cap
- Unscrew the plastic ring on the top of the electrode.
- Pull out the pH electrode and replace it with a new one.
- Ensure the gaskets are in place before screwing back the ring.
